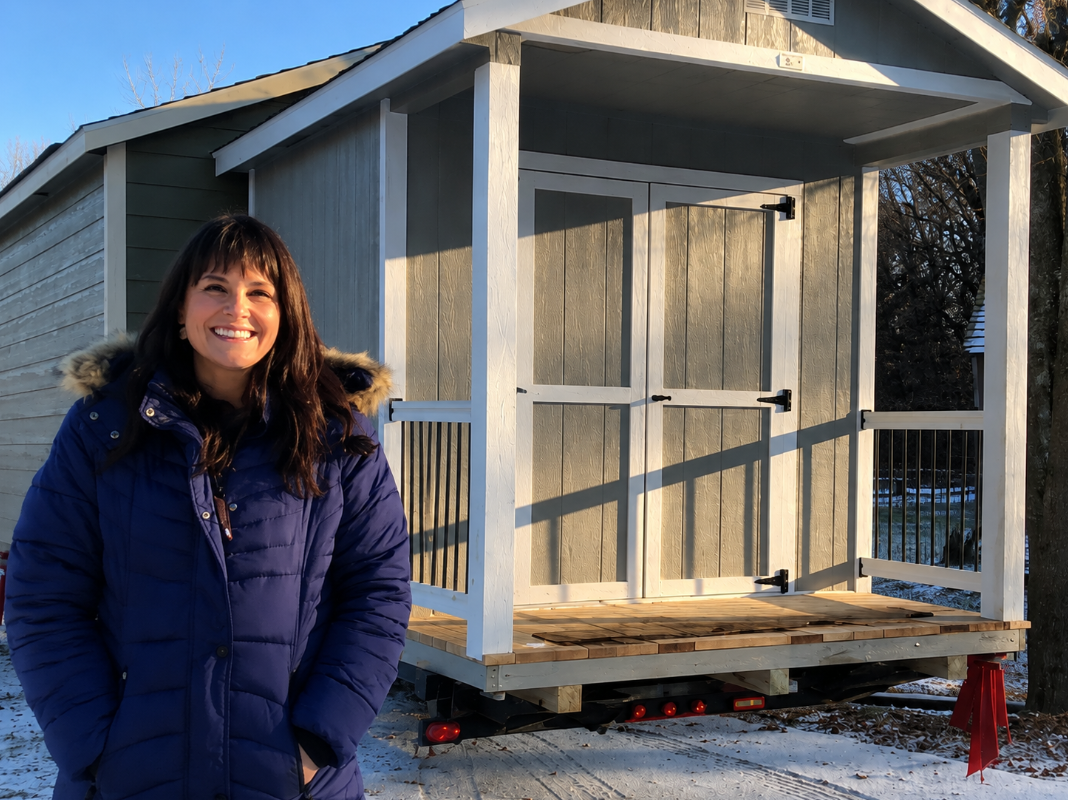
The day is finally here, friends. The girls’ new home has arrived, and to say I was excited would be a serious understatement. Thank goodness nobody captured the part where I went running down the driveway to greet the delivery man, because he probably does not get too many grown women sprinting toward him over the arrival of a shed. That little building was about to become my flock’s forever home, and getting the chicken coop set up right was the only thing on my mind. If you are bringing home a coop of your own soon, here is exactly how we turned an empty shell into a cozy, functional space the hens absolutely love.
New to backyard chickens?
FlockJourney is your go-to resource for flock care, breed guides, and poultry tips straight from the experts at Hoover’s Hatchery.
First Things First: Set the Coop and Walk It Through
The first part of the delivery was the easy part. I stood there snapping pictures and squealing while the crew set the building in place and leveled it. Leveling matters more than most new chicken keepers realize, because a coop that sits flat drains properly, keeps doors swinging true, and stops bedding from sliding into one soggy corner. Once it was settled, I did a full walk-through to picture where everything would go. Planning your chicken coop setup before you start drilling saves a surprising amount of backtracking later, especially when you are deciding where feeders, roosts, and nesting boxes will live.
Food and Water: Keep It Clean and Off the Ground
The very first system we installed was food and water. We went with a nipple watering system because it was inexpensive and does a wonderful job keeping the water fresh. We simply drilled holes into the bottom of a five-gallon bucket, then screwed in poultry nipples we picked up at our local farm supply store. Because this setup hangs, it solved my single biggest pet peeve: chickens are messy, and a ground-level waterer becomes a soup of pine shavings and dust within hours. Hanging a waterer roughly 6 to 8 inches off the ground keeps it clean and dramatically cuts the risk of waterborne illness in your flock. We hung our feeder the same way, just a couple of inches off the ground. As your birds grow, you can raise both systems to match their height, which encourages good posture and reduces wasted feed.
If you are still raising little ones before they graduate to the big coop, our guide to caring for baby chicks walks through the feeders, waterers, and brooder basics that set them up for a smooth transition.
Electrical: Plan for Power, Even If You Wait
Our long-term goal is to have the coop fully wired, but for now, we ran an electrical cord neatly along the wall and well out of the chickens’ reach, because safety always comes first. That single power source covers a lot of ground for us. We use it for timed lighting to support steady laying through the darker months, for a possible heat source, and for a water heater that stops everything from freezing solid once winter sets in. Our winters here are genuinely brutal, so we wanted to be prepared on every front. Even if you are not ready to add electricity right away, mapping out where it will go now makes the eventual upgrade far simpler.
Not sure which breed is right for you?
Browse our complete breed guides to find the perfect match for your flock goals, climate, and lifestyle.
Roosting Poles and Bedding: Where the Chicken Settle In
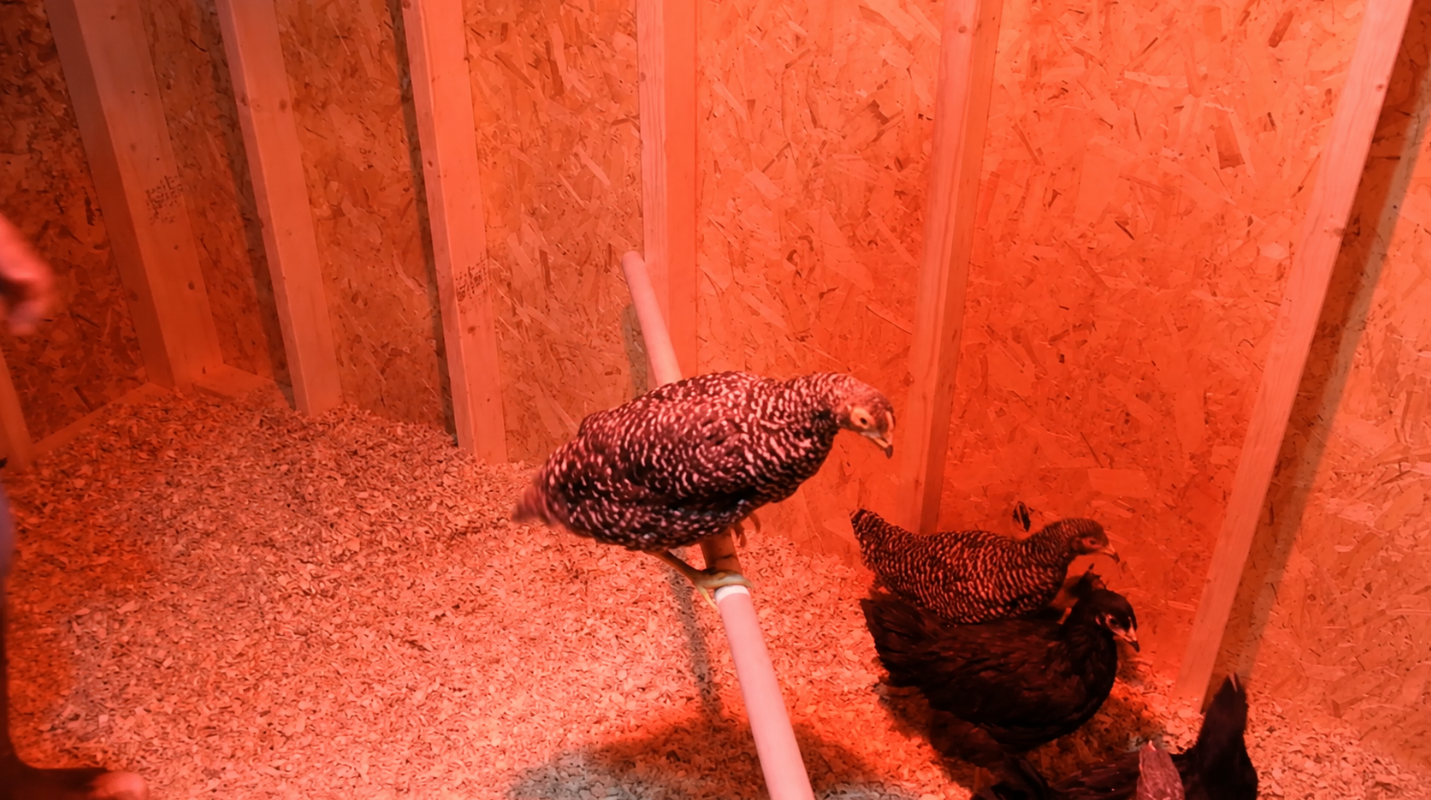
Our daughter drilled the roosting poles into the wall, and the girls took to them instantly. Chickens are hardwired to roost up off the floor at night, so giving them a sturdy, properly placed pole is one of the kindest things you can do for their comfort and security. For bedding, we chose the deep litter method, lining the floor with pine shavings about one to two inches deep throughout the coop. The deep litter method lets droppings and bedding compost in place, which generates gentle warmth and cuts down on how often you need to do a full clean-out. To keep things fresh and support healthy digestion, we sprinkled on Coop Recuperate by Strong Animals Chicken Essentials. If you want to nerd out on the day-to-day of keeping a flock healthy, our broader poultry care resources cover bedding, cleaning routines, and seasonal upkeep in more depth.
Heat: A Careful Balance in Cold Country
I mentioned a possible heat source, and this is where I want to be honest. For the most part, chickens do far better in cooler temperatures than people expect, and a well-feathered adult flock is remarkably cold-hardy. The catch for us is that our winters can easily plunge to 30 degrees below zero, and our girls were moving from a heated shed straight into an unheated coop. That sudden swing is hard on birds, so we set up a heat lamp and monitored it very closely. Heat lamps are honestly not my favorite tool because of the fire risk, but kept clean and well-maintained, they will absolutely take the edge off for your flock during an extreme cold snap. The right coop helps too, and a well-built, properly ventilated structure like the options at Hoover’s Hatchery coops goes a long way toward keeping birds dry and draft-free without relying on added heat.
Move-In Time: The Best Part
With every system in place, it was finally time for the part I had been waiting for. Introducing the girls to their new home was pure joy, but I carried Happy in first. Happy is the whole reason I love my chickens the way I do. Back in the brooder, she was always the first to greet me, hopping up on the ledge to get as close as she possibly could, practically begging to be held. Once she was settled, we brought the rest of the flock in, and watching them discover all that new space was the highlight of the whole project. Setting up your coop is such an exciting milestone, and I already know I will be spending hours out here with these birds.
Frequently Asked Questions
What do I need to set up a new chicken coop?
A complete chicken coop setup includes a clean water source, a feeder, roosting poles, nesting boxes, and bedding such as pine shavings. In cold climates you may also want access to electricity for timed lighting, a water heater, and a carefully monitored heat source. Planning where each element goes before you install anything makes the whole process smoother.
How high should I hang a chicken waterer and feeder?
Hang your waterer about 6 to 8 inches off the ground and your feeder just a couple of inches up, then raise both as your birds grow. Keeping them elevated to roughly the height of your chickens’ backs prevents pine shavings, dust, and droppings from contaminating the food and water. This simple step keeps everything cleaner and supports a healthier flock.
Do chickens need a heat source in winter?
Most healthy adult chickens do not need supplemental heat and actually tolerate cold far better than heat. The main exceptions are extreme cold snaps, very young birds, or flocks moving suddenly from a warm space to an unheated coop. If you do add heat, use a clean, well-maintained, securely mounted source and monitor it closely to reduce fire risk.
What is the deep litter method?
The deep litter method involves layering bedding like pine shavings on the coop floor and letting droppings compost in place rather than removing everything frequently. This natural process generates a little warmth and reduces how often you need a full clean-out. Adding a coop refresher product helps control odor and keeps the environment healthy.
Whether your coop arrives on a flatbed like mine did or you build it from the ground up, the basics stay the same: clean water, easy feed, comfortable roosts, smart bedding, and a careful eye on temperature. Get those right and you will have a happy, healthy flock and a coop you genuinely look forward to visiting every single day. Welcome home, girls.
Ready to fill your new coop?
Hoover’s Hatchery ships healthy, vaccinated chicks straight to your door from hatcheries across the US. Browse over 200 breeds, including dependable brown egg layers, to start or grow your flock.