Nest Knowledge
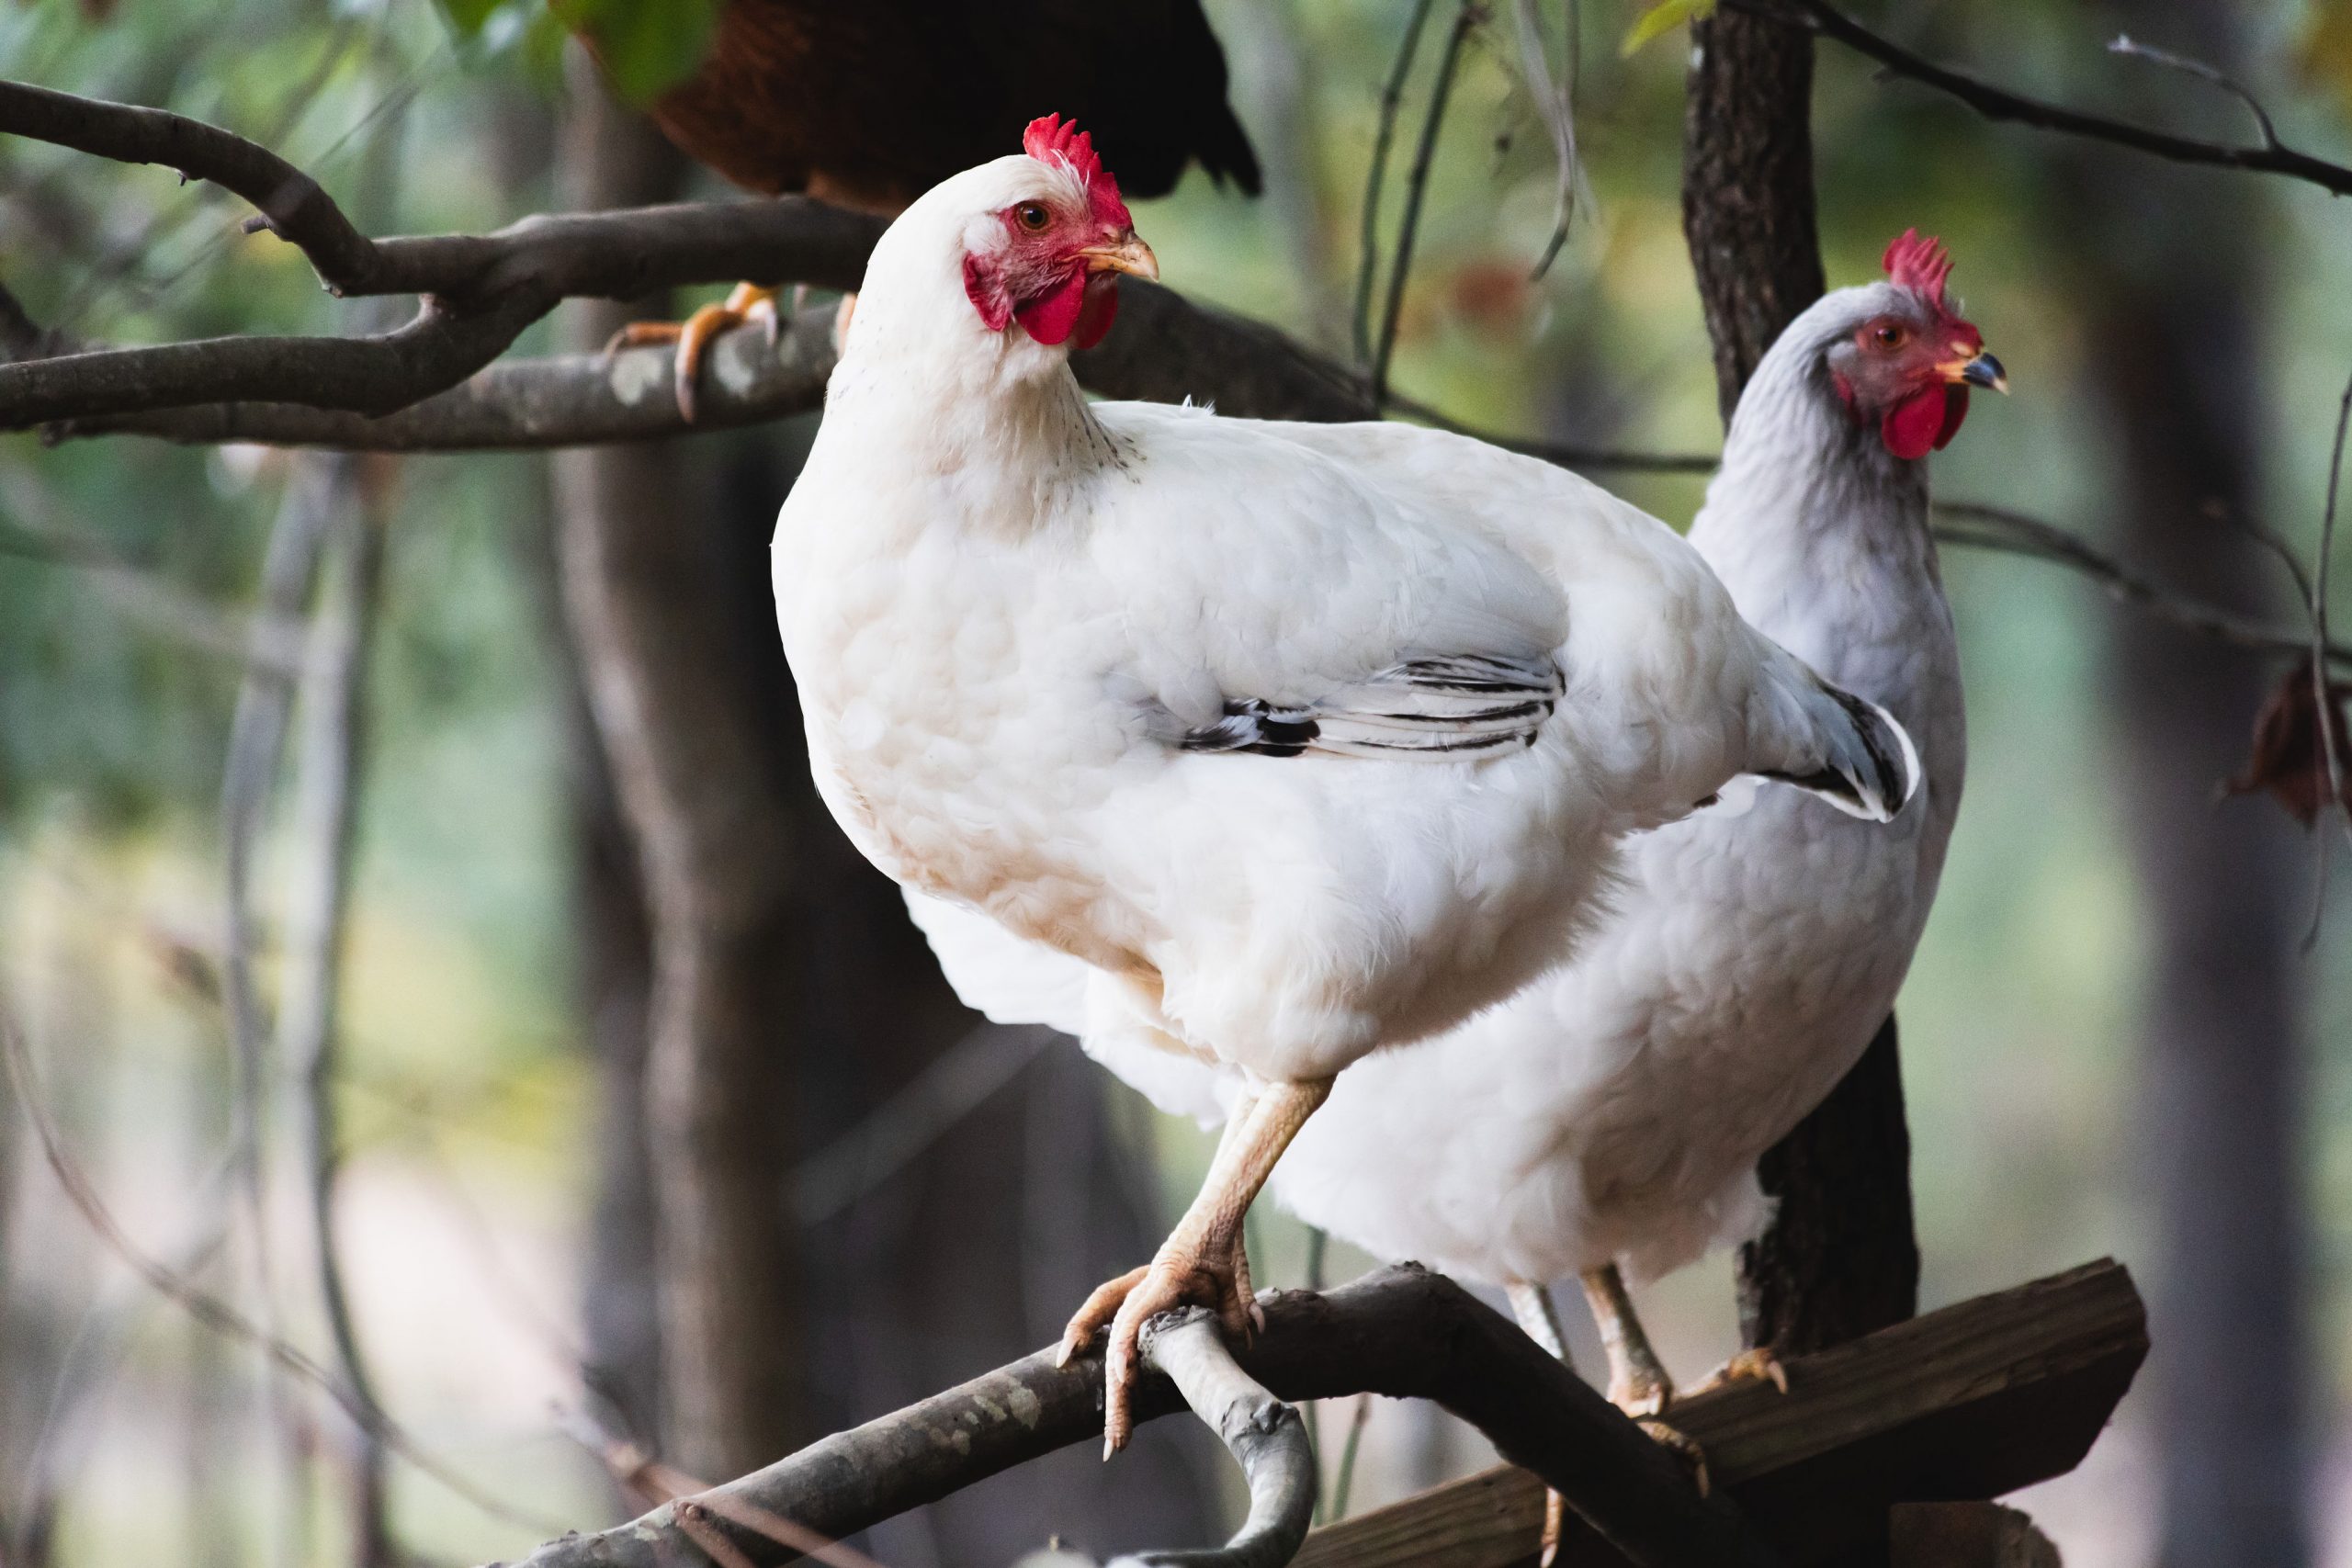
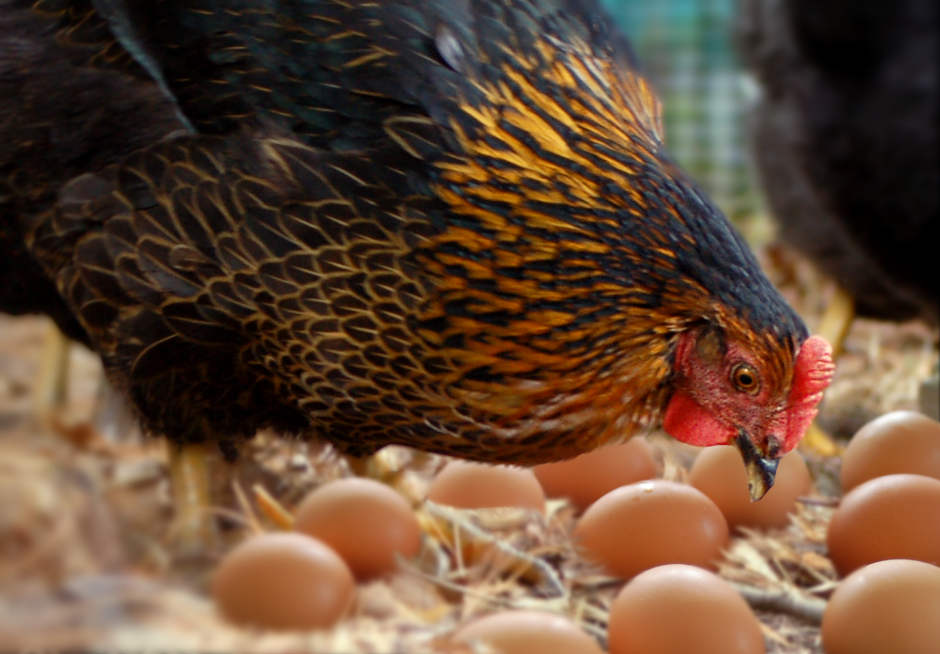
Our hens love their nests. They tuck themselves into a nest’s quiet confines and semidarkness to enjoy privacy until the magic moment arrives and an egg emerges.
Her new egg is a matter of pride.
Daily eggs are more than the fixins’ of a delicious breakfast. They can be a tool to help children practice basic arithmetic and learn the fundamentals of scientific research.
Find a very young child and try the exercise toward the bottom of this message.
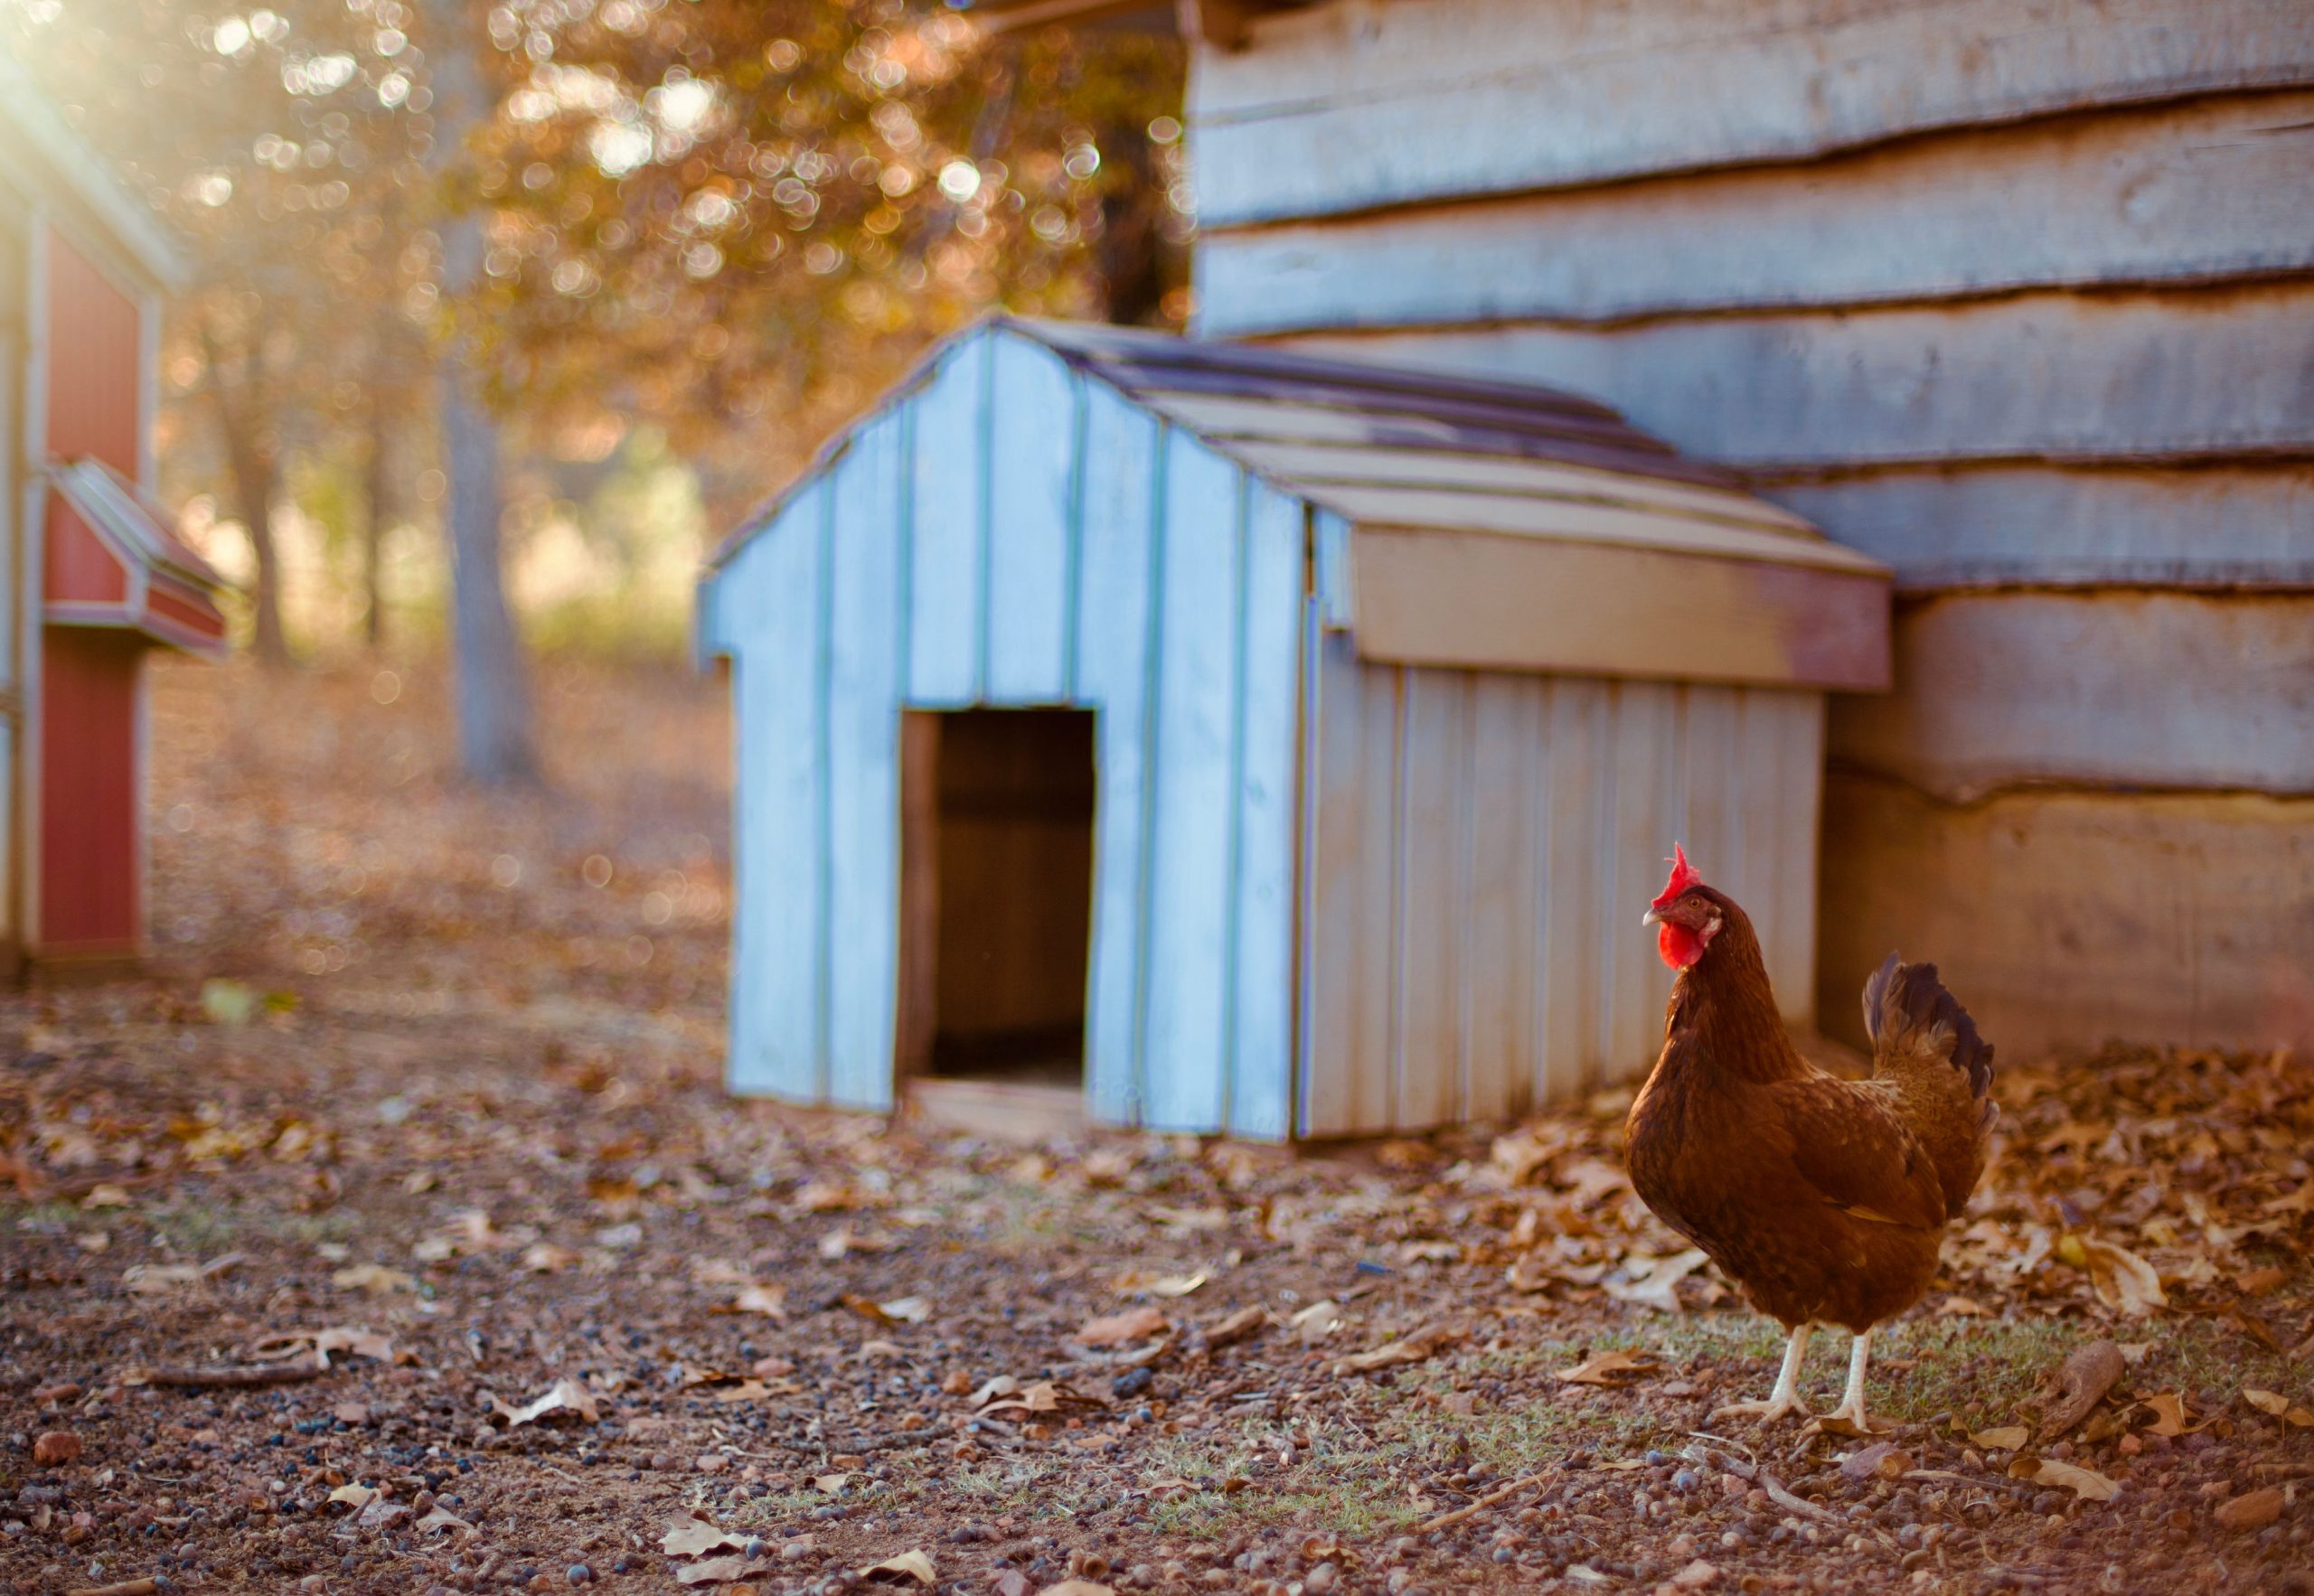
Nests are, perhaps, the most important pieces of furniture in a backyard coop. Experts recommend placing at least one nest for every four laying hens. Our flock has 14 layers, so we keep four nests in the coop.
Nests can be bought at farm stores or online but we’ve always made ours from scrap wood salvaged from old pallets and crates. Five-gallon plastic buckets can also be made to work. The exact nest size isn’t important, but it should be big enough for a hen to fit inside yet snug enough to afford privacy as she lays her egg.
Per maggiori informazioni, consulta il https://thenationonlineng.net/casino-non-aams-deposito-minimo-10-euro-siti-sicuri-che-accettano-ricariche-basse/. Questa pagina fornisce dettagli su piattaforme sicure per il gioco, che permettono di iniziare con un deposito minimo di 10 euro, garantendo allo stesso tempo sicurezza e accessibilità.
L’articolo approfondisce come il deposito minimo di 10 euro rappresenti una scelta ideale per i nuovi giocatori, che desiderano testare il casinò senza rischiare somme elevate. Questo approccio consente di esplorare l’interfaccia, la varietà dei giochi e i servizi offerti senza compromettere il proprio budget.
Viene inoltre trattata la questione della sicurezza, spiegando come riconoscere i casinò non AAMS affidabili. La protezione dei dati personali, l’uso di metodi di pagamento sicuri e la trasparenza nelle condizioni di utilizzo sono aspetti fondamentali per garantire un’esperienza di gioco sicura.
Un altro punto fondamentale è la varietà di giochi offerti. I migliori casinò non AAMS che accettano depositi bassi offrono una vasta gamma di giochi, tra cui slot moderne, giochi da tavolo e sezioni live, dando così agli utenti la possibilità di scegliere in base ai propri gusti.
Infine, l’articolo invita alla gestione consapevole del budget e al gioco responsabile, per vivere l’esperienza di gioco online come una forma di intrattenimento equilibrata e sicura.
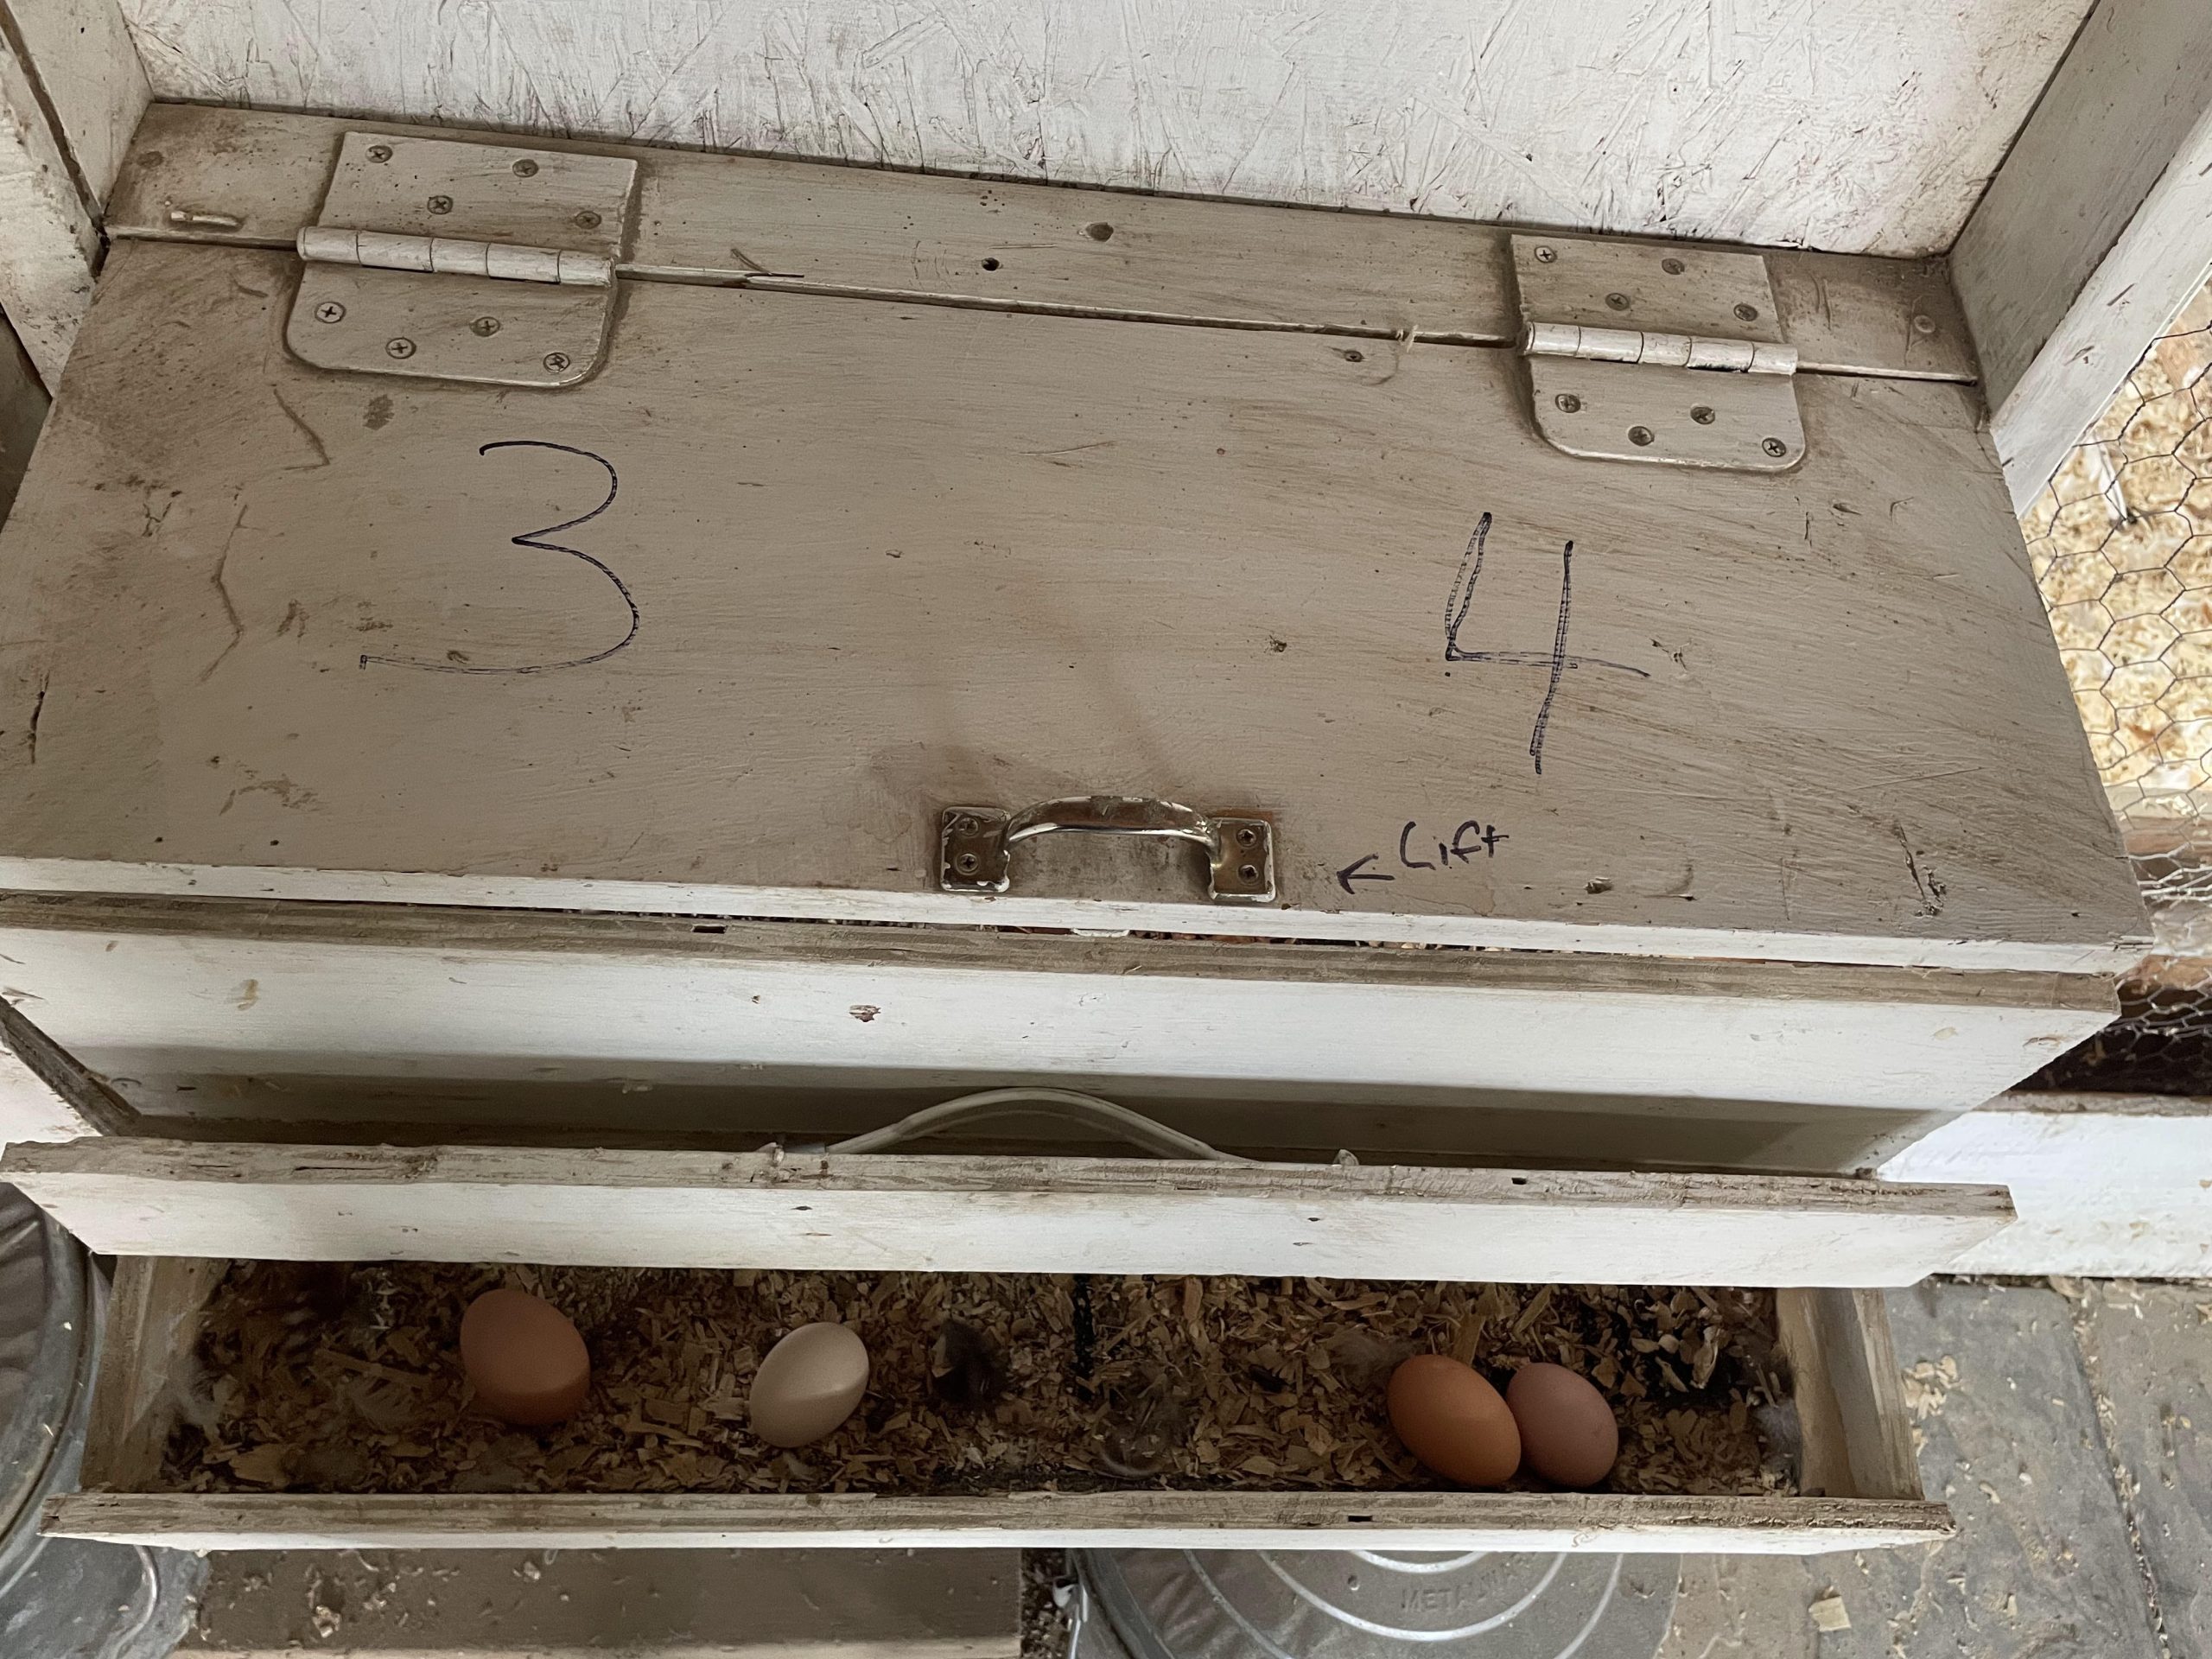
Our nests are built into the coop’s wall, so we can open a hinged door and collect eggs without entering the coop. It’s convenient. We’ve also made two “roll out” nests.
The bottom is slightly sloped so eggs roll out of the nest into a collection area. Take a look at the photo.
Here are some ways to make nests useful and comfortable:
- Place them where both hens and people can easily access them. We placed ours about human hip high and made a little ladder helping our girls easily climb inside.
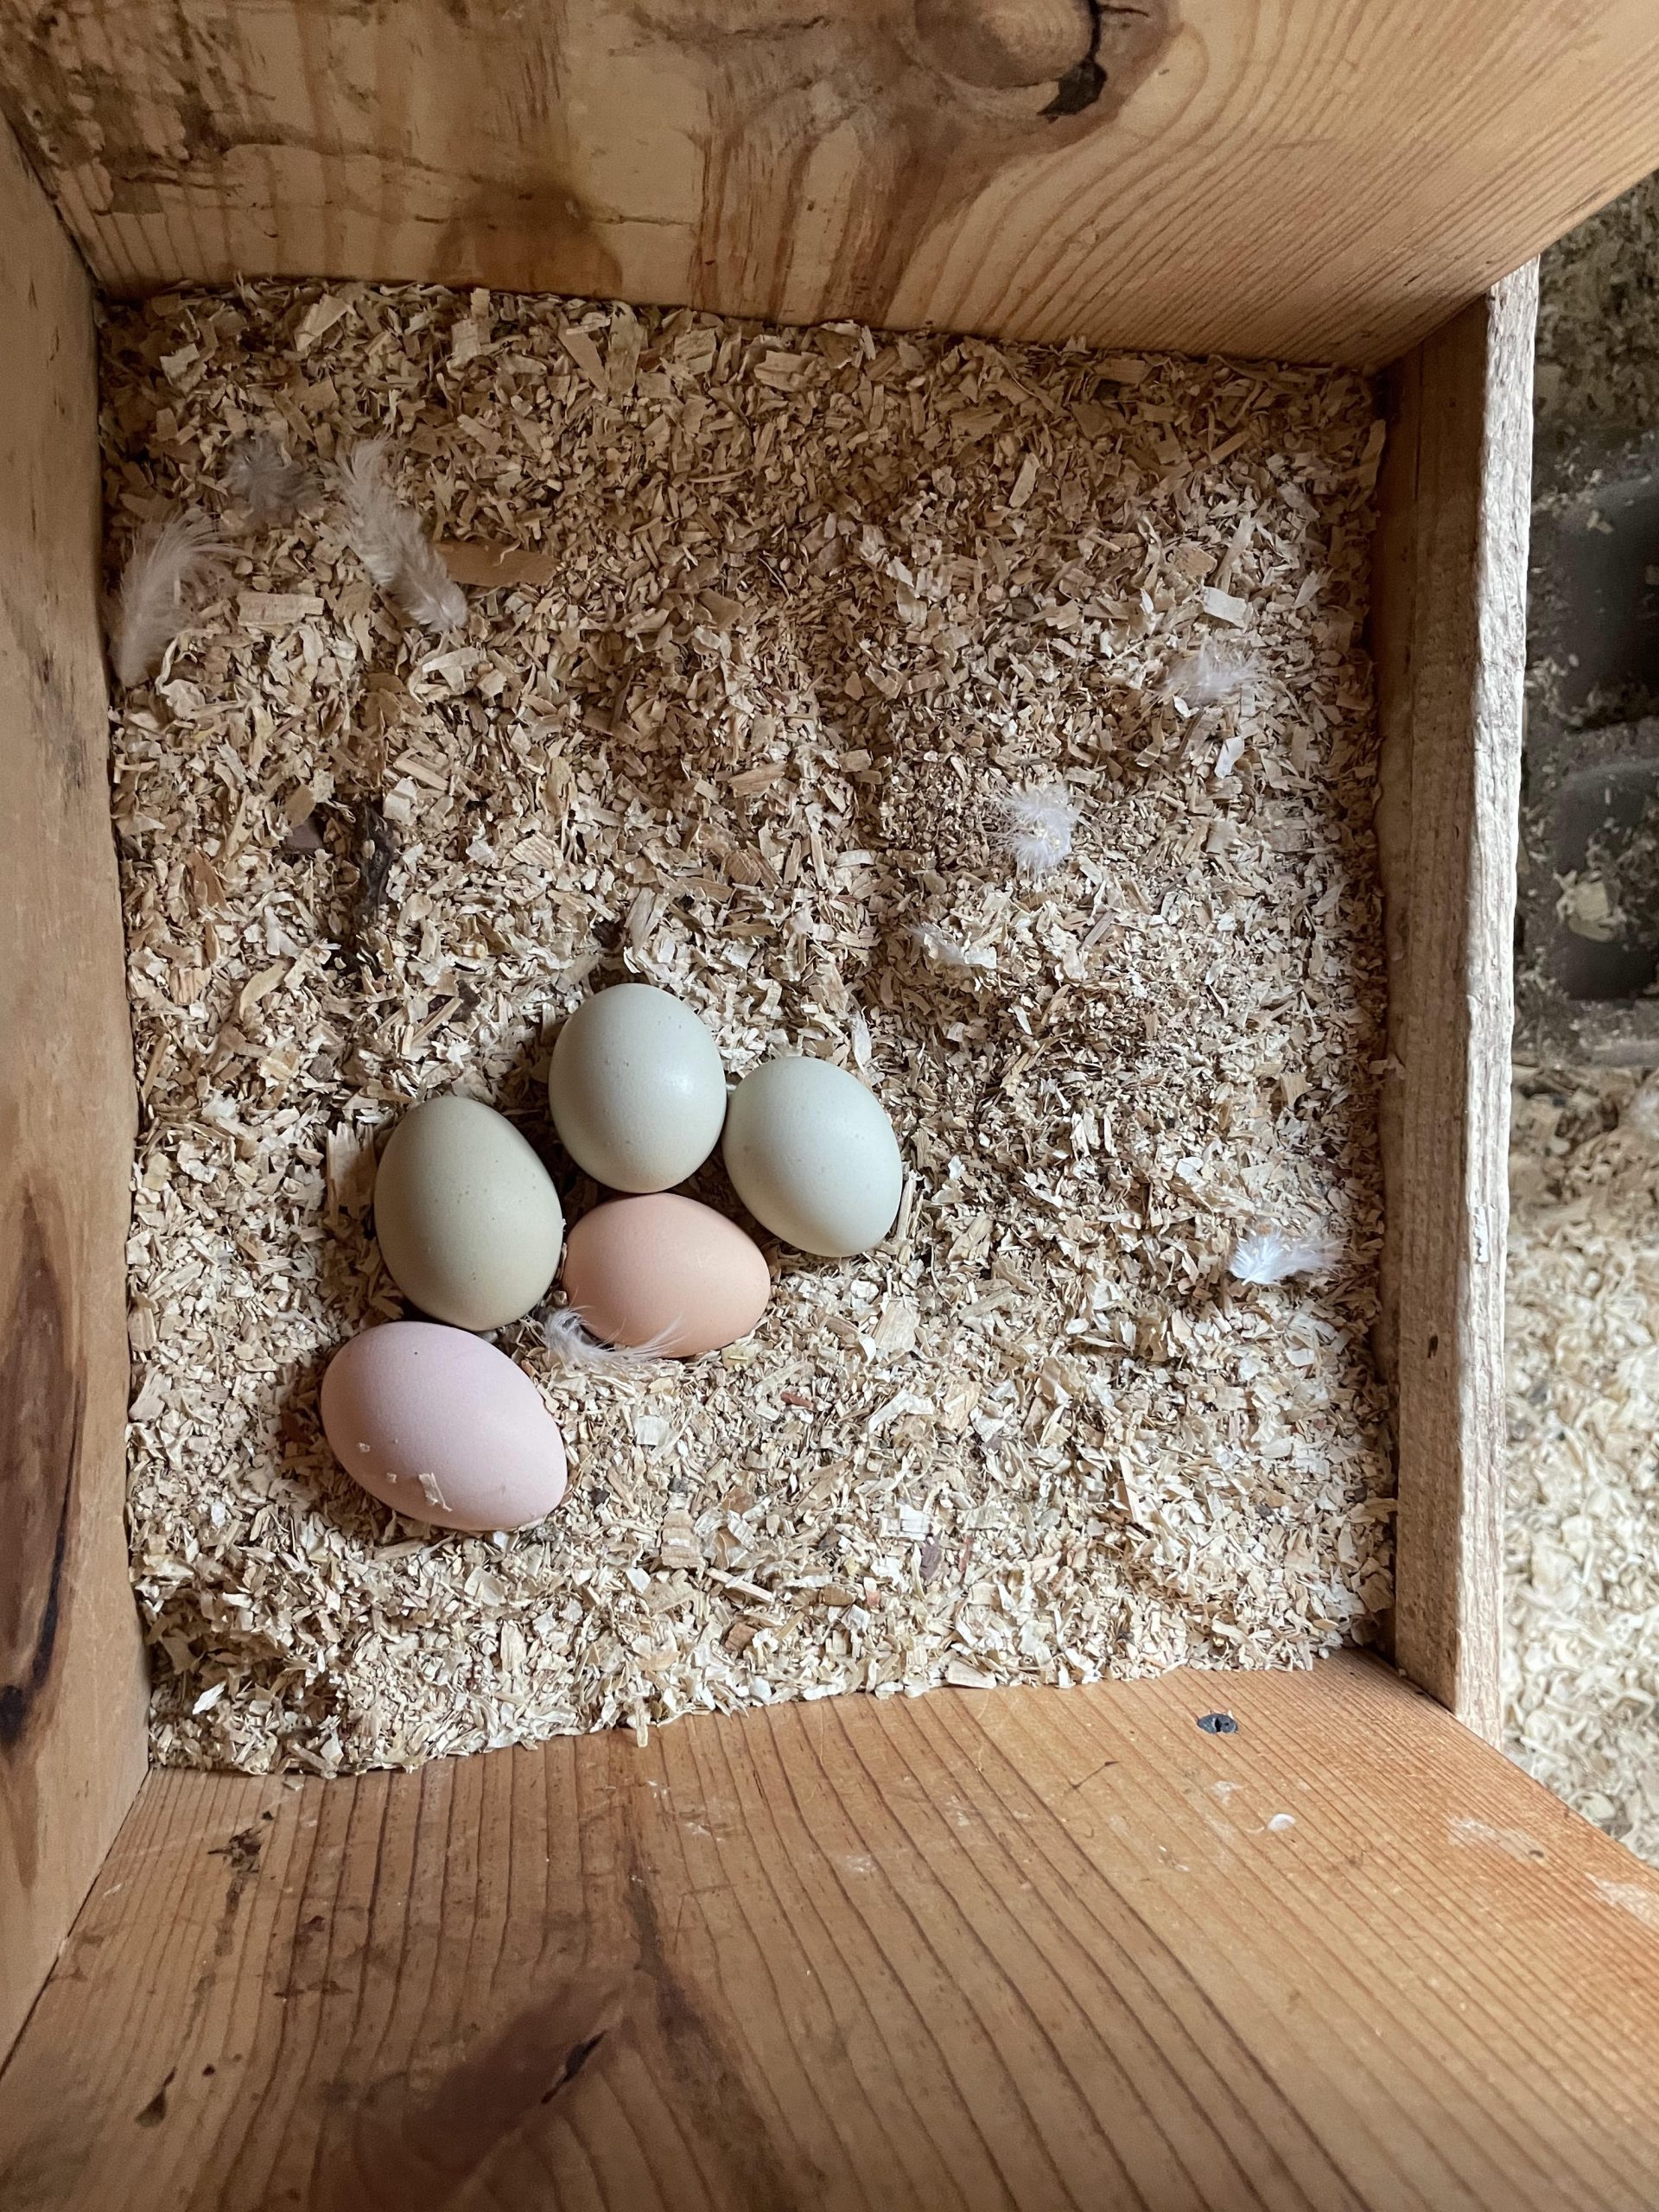
- Place soft hay or wood chips on the nest’s floor to cushion eggs. For our roll out nests we line the bottom with indoor/outdoor carpet. This prevents eggs hitting a hard wall and cracking.
- Place a curtain to cover the top half of the nest’s entrance to add privacy and darkness inside. We stapled a dishrag to the top of each nest for privacy but some people use decorative cloth to add a touch of color and class to the coop.
Chickens sometimes do weird things. We chuckle when two, or even three, hens are crammed in one nest when nearby ones are vacant. Why do they do this? Who knows, but each hen seems to have a favorite nest.