Let’s talk about poop. It is not the most glamorous part of raising backyard chickens, but it is the part that never seems to stop. A single hen can leave behind 50 to 60 droppings a day, so if you keep even a small flock, the mess adds up fast. The good news is that there is a smarter way to handle it. The deep litter method for chicken coops lets your bedding and manure compost right where it falls, so instead of scooping out the coop several times a week, you only deep clean a few times a year. Some folks call it the lazy keeper’s secret, but really, it is just good, old-fashioned coop management that works with nature instead of against it.
New to backyard chickens?
FlockJourney is your go-to resource for flock care, breed guides, and poultry tips straight from the experts at Hoover’s Hatchery.
What Is the Deep Litter Method?
The deep litter method is a coop management system where you let droppings and bedding build up and decompose inside the coop rather than removing them constantly. As the manure mixes with a carbon-rich bedding like pine shavings, beneficial microbes go to work breaking it all down into a rich, earthy compost. According to poultry keepers who have used it for generations, the result is a coop floor that stays surprisingly fresh, plus a steady supply of garden gold by the time you clean it out. The beneficial microbes in active deep litter help suppress harmful bacteria, which means your chickens are actually less prone to disease. It is a rare win-win where less work also means a healthier flock.
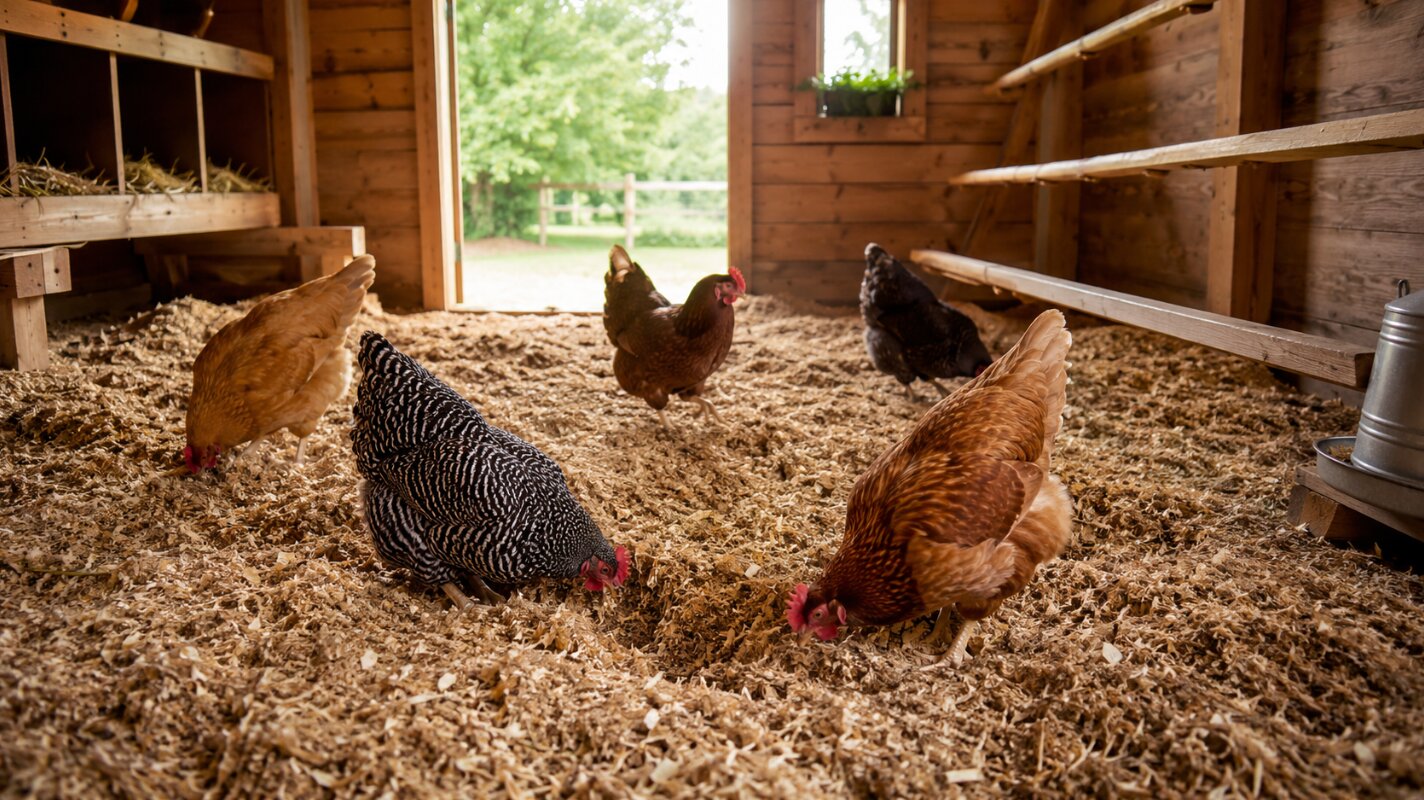
The concept is simple. Carbon-based bedding absorbs the nitrogen in chicken droppings, and the whole pile gently composts in place, much like a compost bin in your backyard. Your chickens do most of the labor for you, scratching and turning the litter as they hunt for tasty bugs and seeds. Over time, the litter deepens, and that thick, working layer becomes its own little ecosystem.
Why Use the Deep Litter Method?
The biggest draw is time. Instead of mucking out the coop weekly, most keepers using the deep litter method only do a full cleanout one to four times a year. But the benefits go beyond saving your back. The composting action generates gentle warmth, so a deep, established litter bed becomes a natural source of insulation during cold winter months. By fall and winter, a properly built litter bed can add real heat to the coop, helping your hens stay comfortable when temperatures drop. You also get free, nutrient-rich compost for your garden, and a coop that smells more like earthy woodland than a barnyard. If keeping your birds healthy is a priority, pairing good litter management with smart flock protection makes a real difference, and our guide on keeping your chickens safe from disease and predators is a great companion read.
How to Set Up the Deep Litter Method, Step by Step
Getting started is easier than you might think. Here is the four-step process to build your deep litter system from scratch.
Step 1: Clean Out the Coop.
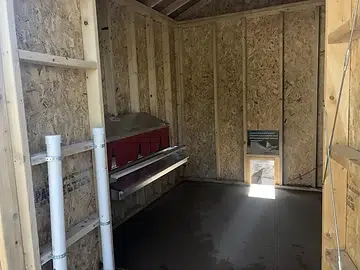
Pick a day with nice weather and a few free hours, because this is not a 30-minute job. Throw on old clothes and grab a dust mask. Open the coop up as much as possible for ventilation, then remove everything inside, including feeders, waterers, and toys. Scoop out all the old bedding and droppings that have piled up.
Step 2: Wash and Dry.
With the coop empty, use a paint scraper to lift off any stuck-on droppings. Then spray everything down with warm, soapy water, rinse thoroughly, and let the coop dry completely. A fully dry coop is essential before you add fresh bedding.
Step 3: Add Fresh Bedding.
Once the coop is dry, spread 3 to 4 inches of fresh pine shavings or your bedding of choice across the floor. Avoid cedar shavings, since the aromatic oils can irritate and harm your chickens’ sensitive respiratory systems. Over the season, this layer will build up to 8 to 12 inches deep between cleanings, though the exact depth depends on your coop size and how many birds you keep. If you are still setting up your space or thinking about an easier-to-maintain housing option, browse the durable, low-maintenance options at Hoover’s Hatchery coops designed with bedding management in mind.
Step 4: Treat the Litter and Maintain It.
A litter conditioner or coop refresher product can be sprinkled over the shavings to cut down on odor and absorb extra moisture, which helps your bedding last longer. Products like Coop Recuperate™ by Strong Animals Chicken Essentials are made for this step and can be added on top of the litter once or twice a week, or whenever fresh bedding is added. From there, you simply add a thin layer of clean shavings whenever you notice an odor starting, and let the chickens keep stirring the pile.
Not sure which breed is right for you?
Browse our complete breed guides to find the perfect match for your flock goals, climate, and lifestyle.
Tips for Maintaining a Healthy Deep Litter System
A deep litter bed is a living system, so a little attention keeps it working well. Keep these three rules in mind, and you will avoid the most common mistakes.
First, ventilation is non-negotiable. Your coop must be well ventilated, because as litter composts, it releases moisture and a small amount of ammonia. Good airflow carries those fumes out before they can cause eye or sinus irritation in your birds. Research and decades of practical experience both agree that ammonia buildup is one of the leading respiratory threats to backyard flocks, so cross-ventilation or open eaves near the roof are well worth the effort.
Second, let your nose be your guide. A working deep litter coop should smell earthy, not sharp. The moment you catch a whiff of ammonia or notice things getting stinky, that is your signal to toss on more fresh bedding. Use enough to fully cover the droppings, since you genuinely cannot add too much, but you can definitely add too little. Choosing the right bedding matters too, and you can stock up on quality flock supplies and pine bedding through Hoover’s Hatchery when you place your next order.
Third, never use cedar shavings or harsh chemical insecticides in the litter. Cedar harms chicken respiratory health, and chemical treatments will kill the very microbes that make the deep litter method work. Stick with pine shavings or other safe carbon bedding, and let the natural decomposition do its thing.
Turning Your Litter Into Garden Compost
Here is where all those months of chicken droppings finally pay off. When it is time for your annual or seasonal cleanout, do not toss that litter. Shovel it straight into your compost pile, where it becomes a powerhouse soil amendment. One important note: fresh chicken manure is too “hot” for plants, meaning it is so nitrogen-rich that it can burn roots if used right away. Most keepers let their coop litter compost for around six months before working it into the garden, giving it time to mellow into safe, fertile humus. If you want to keep the system going, leave an inch or two of the old, composting litter behind when you clean. That base layer is full of established microbes that jumpstart the breakdown of your next batch. Whether you are raising hens for eggs or expanding into other poultry, you can find healthy, vaccinated birds in the brown egg layer collection at Hoover’s Hatchery to grow your flock.
Frequently Asked Questions
How often do you clean a coop using the deep litter method?
With the deep litter method, you only need a full deep cleanout one to four times a year, depending on your flock size and coop dimensions. Between those cleanouts, your only task is adding a thin layer of fresh bedding whenever you notice an odor. The chickens handle most of the turning and aeration themselves.
What is the best bedding for the deep litter method?
Pine shavings are the most popular and reliable choice because they are absorbent, affordable, and compost well. You can also mix in dry leaves, grass clippings, or other carbon-rich materials as the system matures. Always avoid cedar shavings, since the oils are toxic to a chicken’s respiratory system.
Does the deep litter method smell bad?
When managed correctly, a deep litter coop should smell earthy and natural, never offensive. A sharp ammonia odor is a warning sign that you need more ventilation, more fresh bedding, or both. If you stay on top of those two things, the coop stays pleasant for you and your birds.
Can I use the deep litter method in winter?
Yes, and winter is actually when it shines. As the litter composts, it generates gentle heat, which provides natural insulation and warmth during cold months. Just make sure the coop stays ventilated, since trapped moisture is more dangerous to chickens in winter than the cold itself.
The deep litter method is one of the simplest ways to balance flock health, a cleaner coop, and your own free time. Chickens are wonderful, rewarding animals, but there is no denying they are messy. The time you put into a smart litter system pays you back in fewer chores, healthier birds, and rich compost for your garden. Once you settle into the rhythm of it, you will wonder why you ever scooped poop three times a week.
Ready to start your flock?
Hoover’s Hatchery ships healthy, vaccinated chicks straight to your door from hatcheries across the US. Over 200 breeds available.