There’s something deeply rewarding about raising your own food. When it comes to poultry, meat chickens (also called broilers) can provide a healthy, sustainable, and flavorful source of protein right from your backyard. But raising meat birds is a little different than keeping a small flock of egg layers. If you’re considering this step, here’s what you need to know to raise meat chickens successfully—from fluffy chicks to processing day.
Step 1: Choosing the Right Breed
Not all chickens are created equal when it comes to meat production.
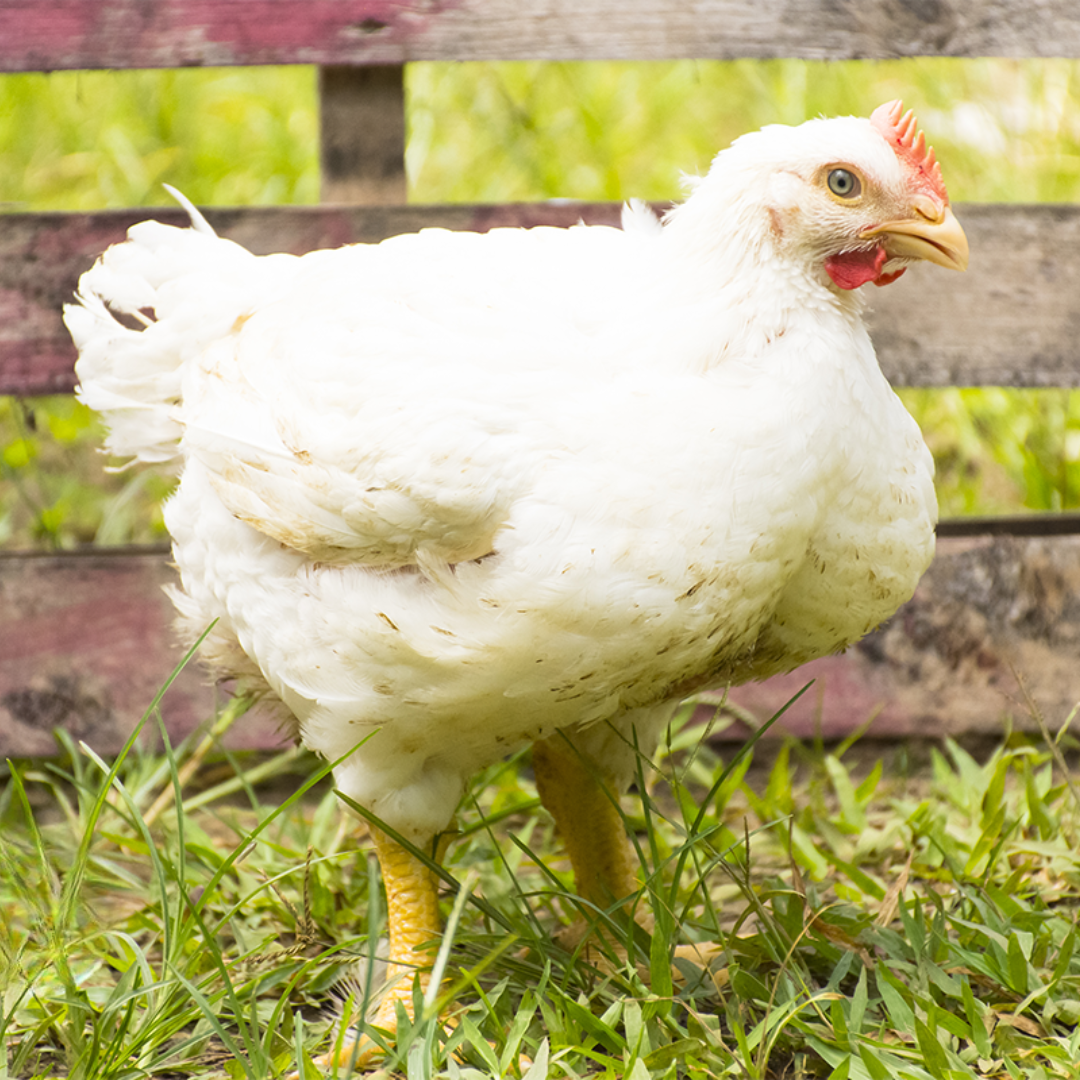
- Cornish Cross: The most popular meat bird. They grow fast—reaching butcher weight (5–7 lbs) in 6–8 weeks. They’re efficient, but they also require careful management because their rapid growth can stress their bodies.
- Rudd Rangers / Freedom Rangers: A slower-growing alternative (10–12 weeks), often more active and hardy. Great for pasture-based systems with a bit more flavor in the meat.
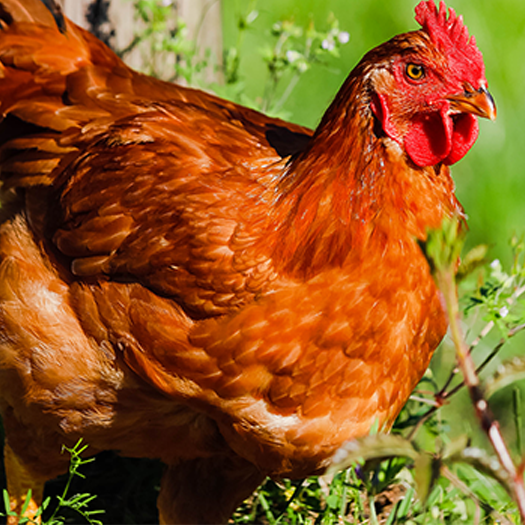
- Dual-purpose breeds (like Plymouth Rocks or Orpingtons): They take longer to reach processing weight but can serve as both layers and meat birds.
Step 2: Setting Up a Brooder
The first few weeks are crucial. Young chicks need a warm, safe environment to thrive.
- Brooder box: A stock tank, large bin, or a DIY pen lined with bedding.
- Heat source: A heat lamp or radiant brooder plate. Start at 90–95°F and reduce by ~5°F per week until they’re feathered out.
- Bedding: Pine shavings (avoid cedar). Replace often to keep things dry.
- Feed and water: Use chick feeders and waterers to prevent spills and contamination.
Pro tip: Watch your chicks. If they huddle together, they’re cold. If they scatter far from the heat, they’re too hot.
Step 3: Feeding for Growth
Meat birds have different dietary needs than egg layers.
- Starter feed: High-protein chick starter (20–24% protein) for the first 3 weeks.
- Grower feed: Switch to 18–20% protein feed after 3 weeks until processing.
- Free choice water: Always keep water available—meat birds grow fast and dehydrate easily.
- Controlled feeding: Especially for Cornish Cross, consider limiting feed to 12 hours on/12 hours off after the first week to avoid health problems.
Step 4: Housing and Pasture
By 3–4 weeks, your birds are ready to move out of the brooder.
- Chicken tractors: Mobile pens that allow access to fresh grass daily while keeping predators out. Perfect for small-scale homesteads.
- Stationary coops with runs: Work well too, but require more cleanup.
- Space: Give at least 2 square feet per bird in confinement, more if they’re on pasture.
Pastured meat birds benefit from the exercise, sunshine, and bugs, and you’ll notice the flavor difference in the finished product.
Step 5: Managing Health and Growth
Watch weight gain: Fast-growing breeds can develop leg problems or heart issues. Controlled feeding and access to pasture help.
- Keep it clean: Rotate tractors or refresh bedding often to avoid ammonia buildup.
- Predator protection: Secure housing is essential—meat birds are slower and less alert than layers.
Step 6: Butchering Day
Processing your birds is the most serious (and rewarding) part of the journey.
- Age: Cornish Cross at 6–8 weeks, Rangers at 10–12
- Processing options: Do it yourself (with proper tools and setup) or use a licensed poultry processor.
- Humane handling: Always handle birds calmly and process quickly to minimize stress.
- Resting the meat: Chill processed chickens in ice water, then let them rest in the fridge for 24–48 hours before freezing or cooking. This tenderizes the meat.
Step 7: Storing and Enjoying the Harvest
- Freezing: Vacuum-sealing is best, but freezer bags work if air is pressed out.
- Portioning: Whole birds are simple, but you can also cut into parts before freezing.
- Shelf life: Properly stored, frozen chicken lasts up to a year.
Raising meat chickens requires daily care, attention, and a willingness to handle the butchering process—but the rewards are huge. You’ll gain a deeper appreciation for where your food comes from, enjoy healthier and tastier chicken, and maybe even save money in the long run.
It’s not just about filling your freezer—it’s about taking responsibility for your food chain and building a deeper connection with your homestead.
Meat Chicken Timeline: Week by Week
Week 1–2: Brooder Basics
- Keep chicks at 90–95°F with heat lamp/plate
- High-protein chick starter (20–24%)
- Clean bedding daily, plenty of fresh water
Week 3: Growing Up
- Lower brooder temp to 80–85°F
- Switch to 18–20% grower feed
- Birds begin feathering out and can start short outdoor visits (weather permitting)
Week 4–5: Moving Out
- Transition to chicken tractor or coop + run
- 2+ square feet per bird minimum, more if on pasture
- Begin rotating pens for fresh grass & bug access
Week 6–7: Finishing Stage (Cornish Cross)
- Birds reach 5–7 lbs
- Manage feed intake (12 on / 12 off for Cornish)
- Monitor for leg or heart strain
- Prep butchering supplies or schedule processor
Week 8: Butchering (Cornish Cross)
- Butcher age for Cornish Cross (6–8 weeks)
- Chill in ice bath, rest 24–48 hrs in fridge before freezing
Week 9–12: Finishing Stage (Rangers / Slower Breeds)
- More active, slightly leaner meat
- Continue pasture rotation
- Butcher at 10–12 weeks for ideal size and flavor
After Processing
- Vacuum seal or freezer bag whole or parted-out birds
- Store up to 1 year in freezer
- Enjoy homegrown meals that connect you to your food