Candling eggs is a fun and educational activity for both children and adults. When incubating eggs at home, candling ensures you keep only the healthy eggs. It is also just really neat to see the embryos growing! You can candle your eggs at home, but be advised, if you have darker eggshells, they can be harder to see. Lighter colored eggs are easier to see through. All chickens’ eggs hatch after 21 days of incubating at 99.5F. Stages of embryo growth are very similar throughout the bird kingdom, with only small variables differentiating them.
Candling eggs is an important part of maintaining a clean hatching environment. Bad eggs immediately begin to decompose, resulting in loads of bacteria. The high humidity and warmth of the incubator can be a breeding ground for disease. For this reason, you want your incubator to be a clean place for the eggs to hatch. This, unfortunately, involves removing the bad eggs at different stages of incubation.
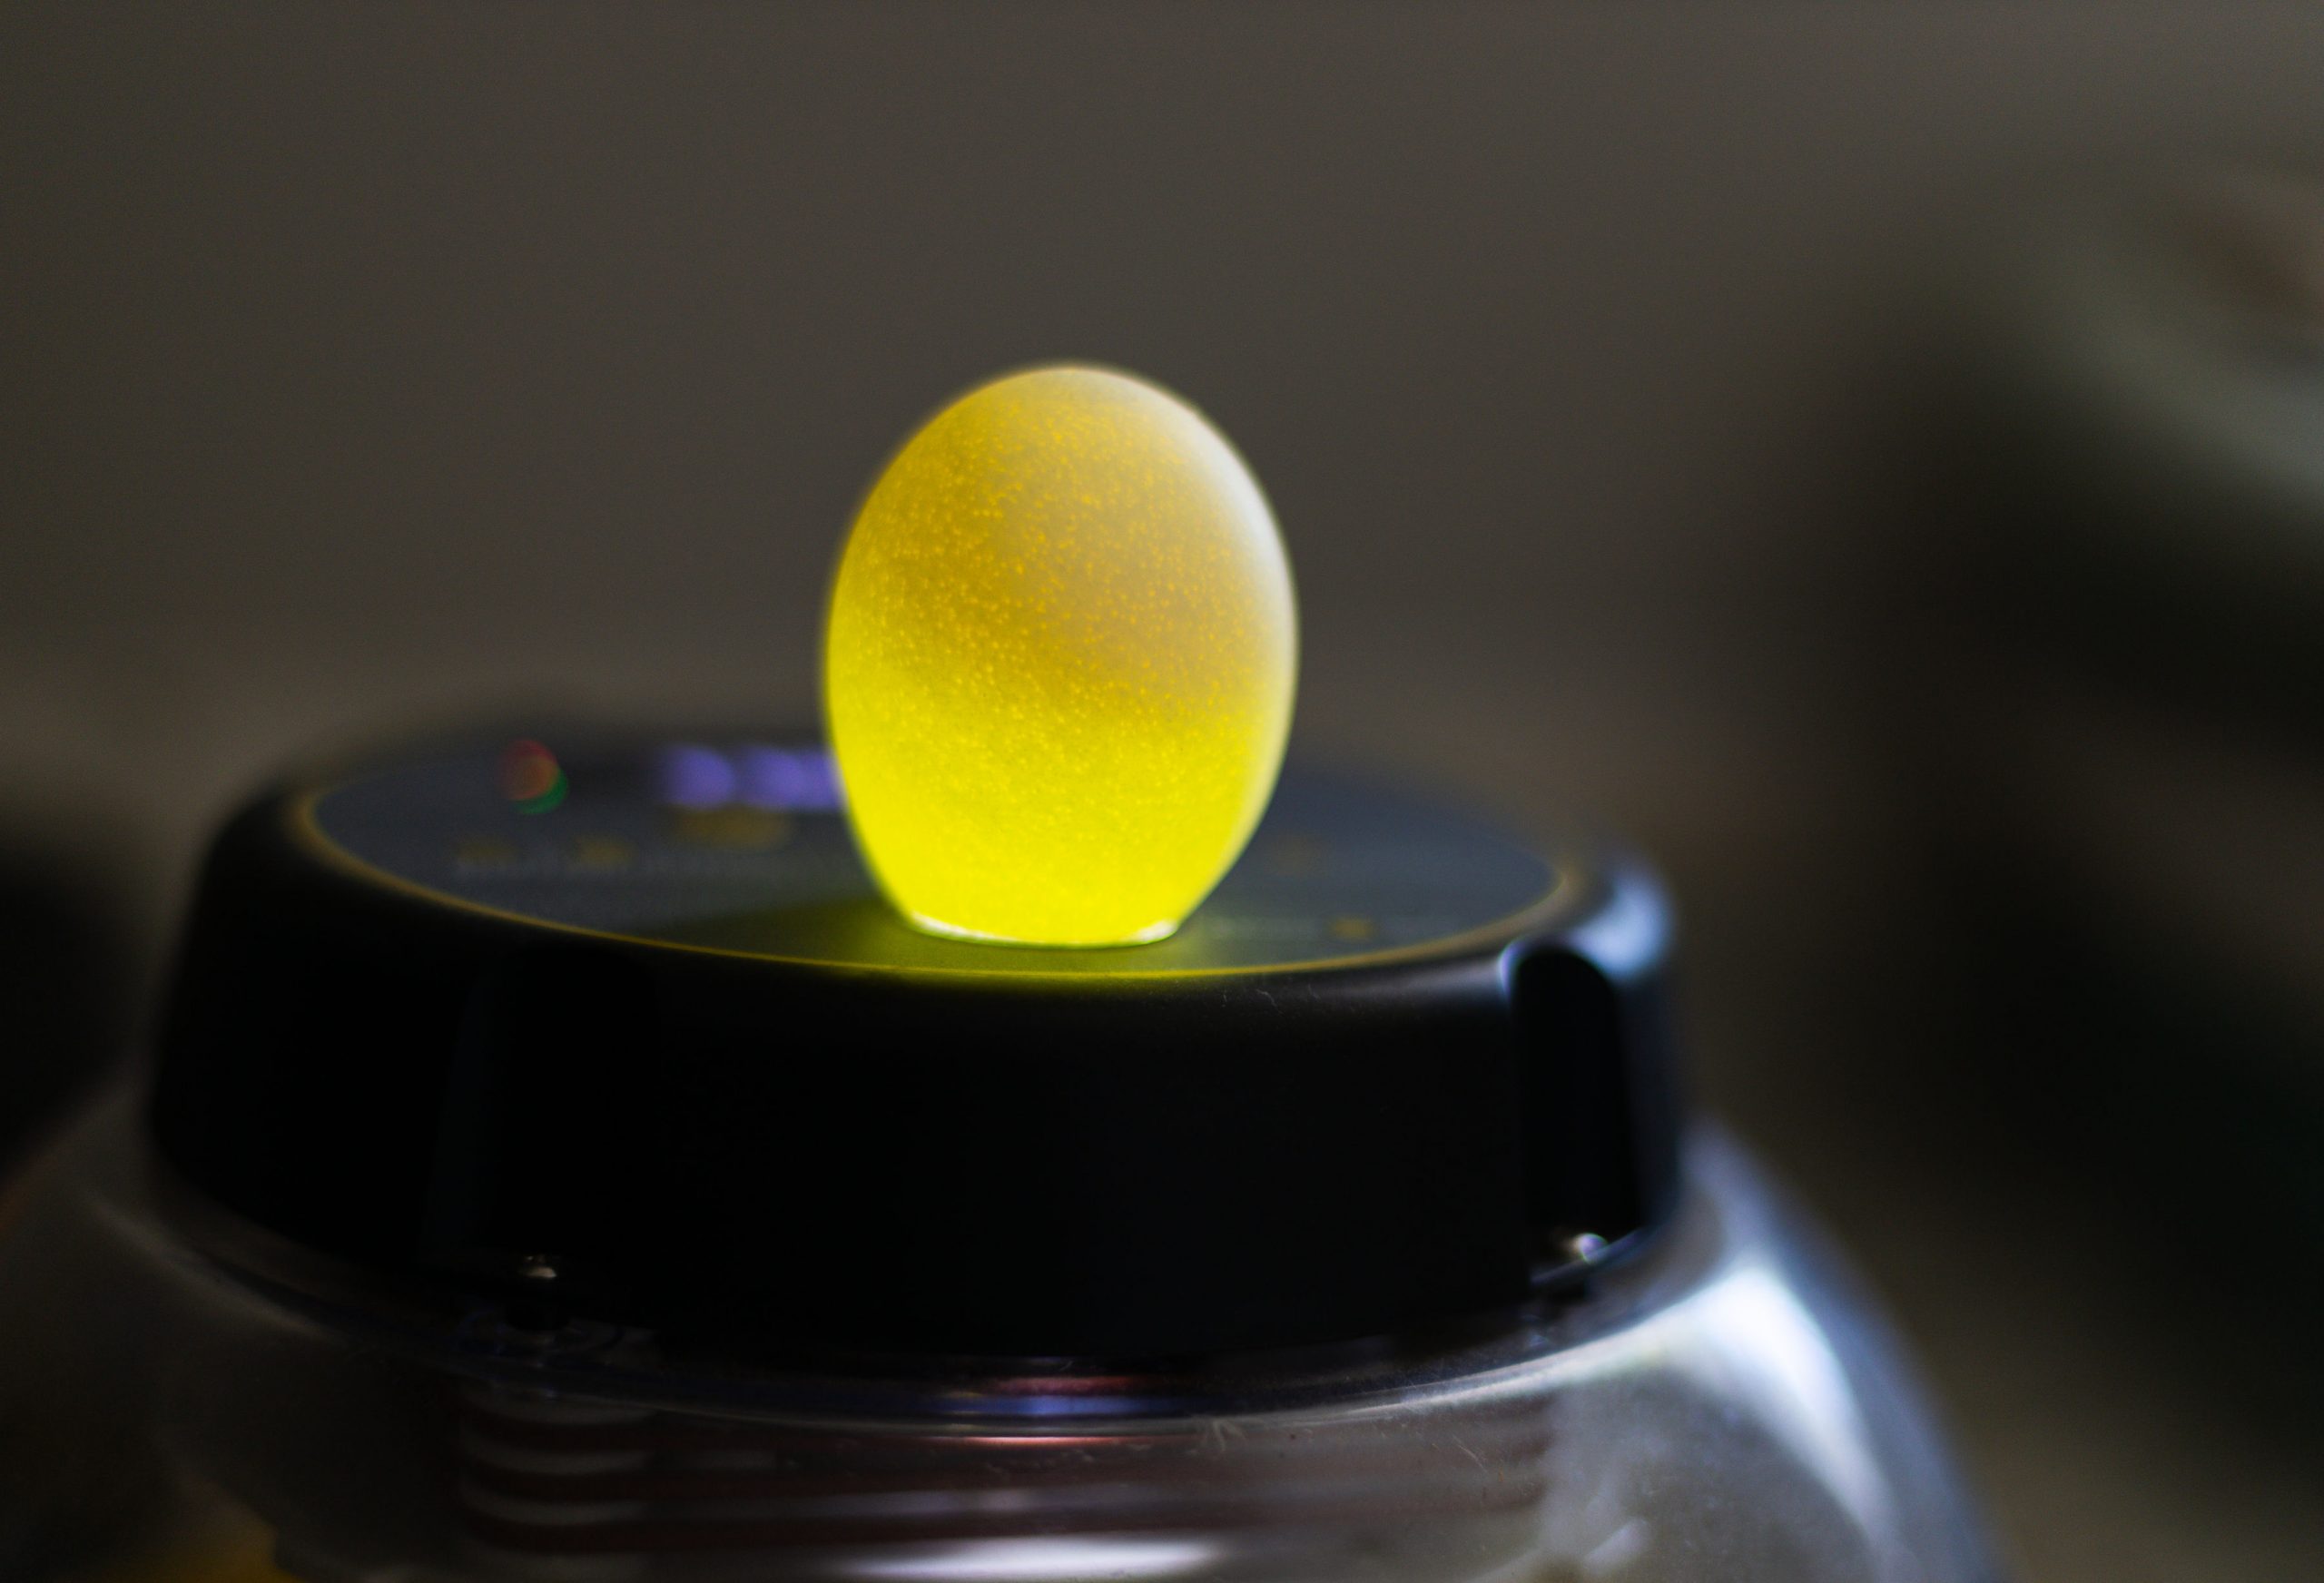
When candling eggs, take them out one at time, being very slow and careful. Most incubators have a small hole on the lid, that acts as a candling station. You can also use a bright flashlight. Take the egg carefully hold the light to either end of the egg. Each egg contains an air sac, which should be attached at the round, blunt end of the egg. This air sac will slightly grow in size during incubation. The air sac is where the chick will break into and breathe during the long hatching process. The chick should then break through the shell on this rounded end.
Most people candle eggs with the air sac pointing down onto the light. It really doesn’t matter which end you use, so long as you are gentle and avoid shaking the egg. Occasionally, an air sac can become dislocated. There is still a chance the chick will survive, but certain extra precautions must be taken. Oftentimes, air sacs can become dislocated during transport, if fertile eggs came from a breeder.
There are ideal times to candle and examine your eggs’ progress. Eggs should be candled around day 6, day 11, and day 17. These days are not exact; you can candle them whenever you like, just not during the last 3 days of incubation. Those are lockdown days!
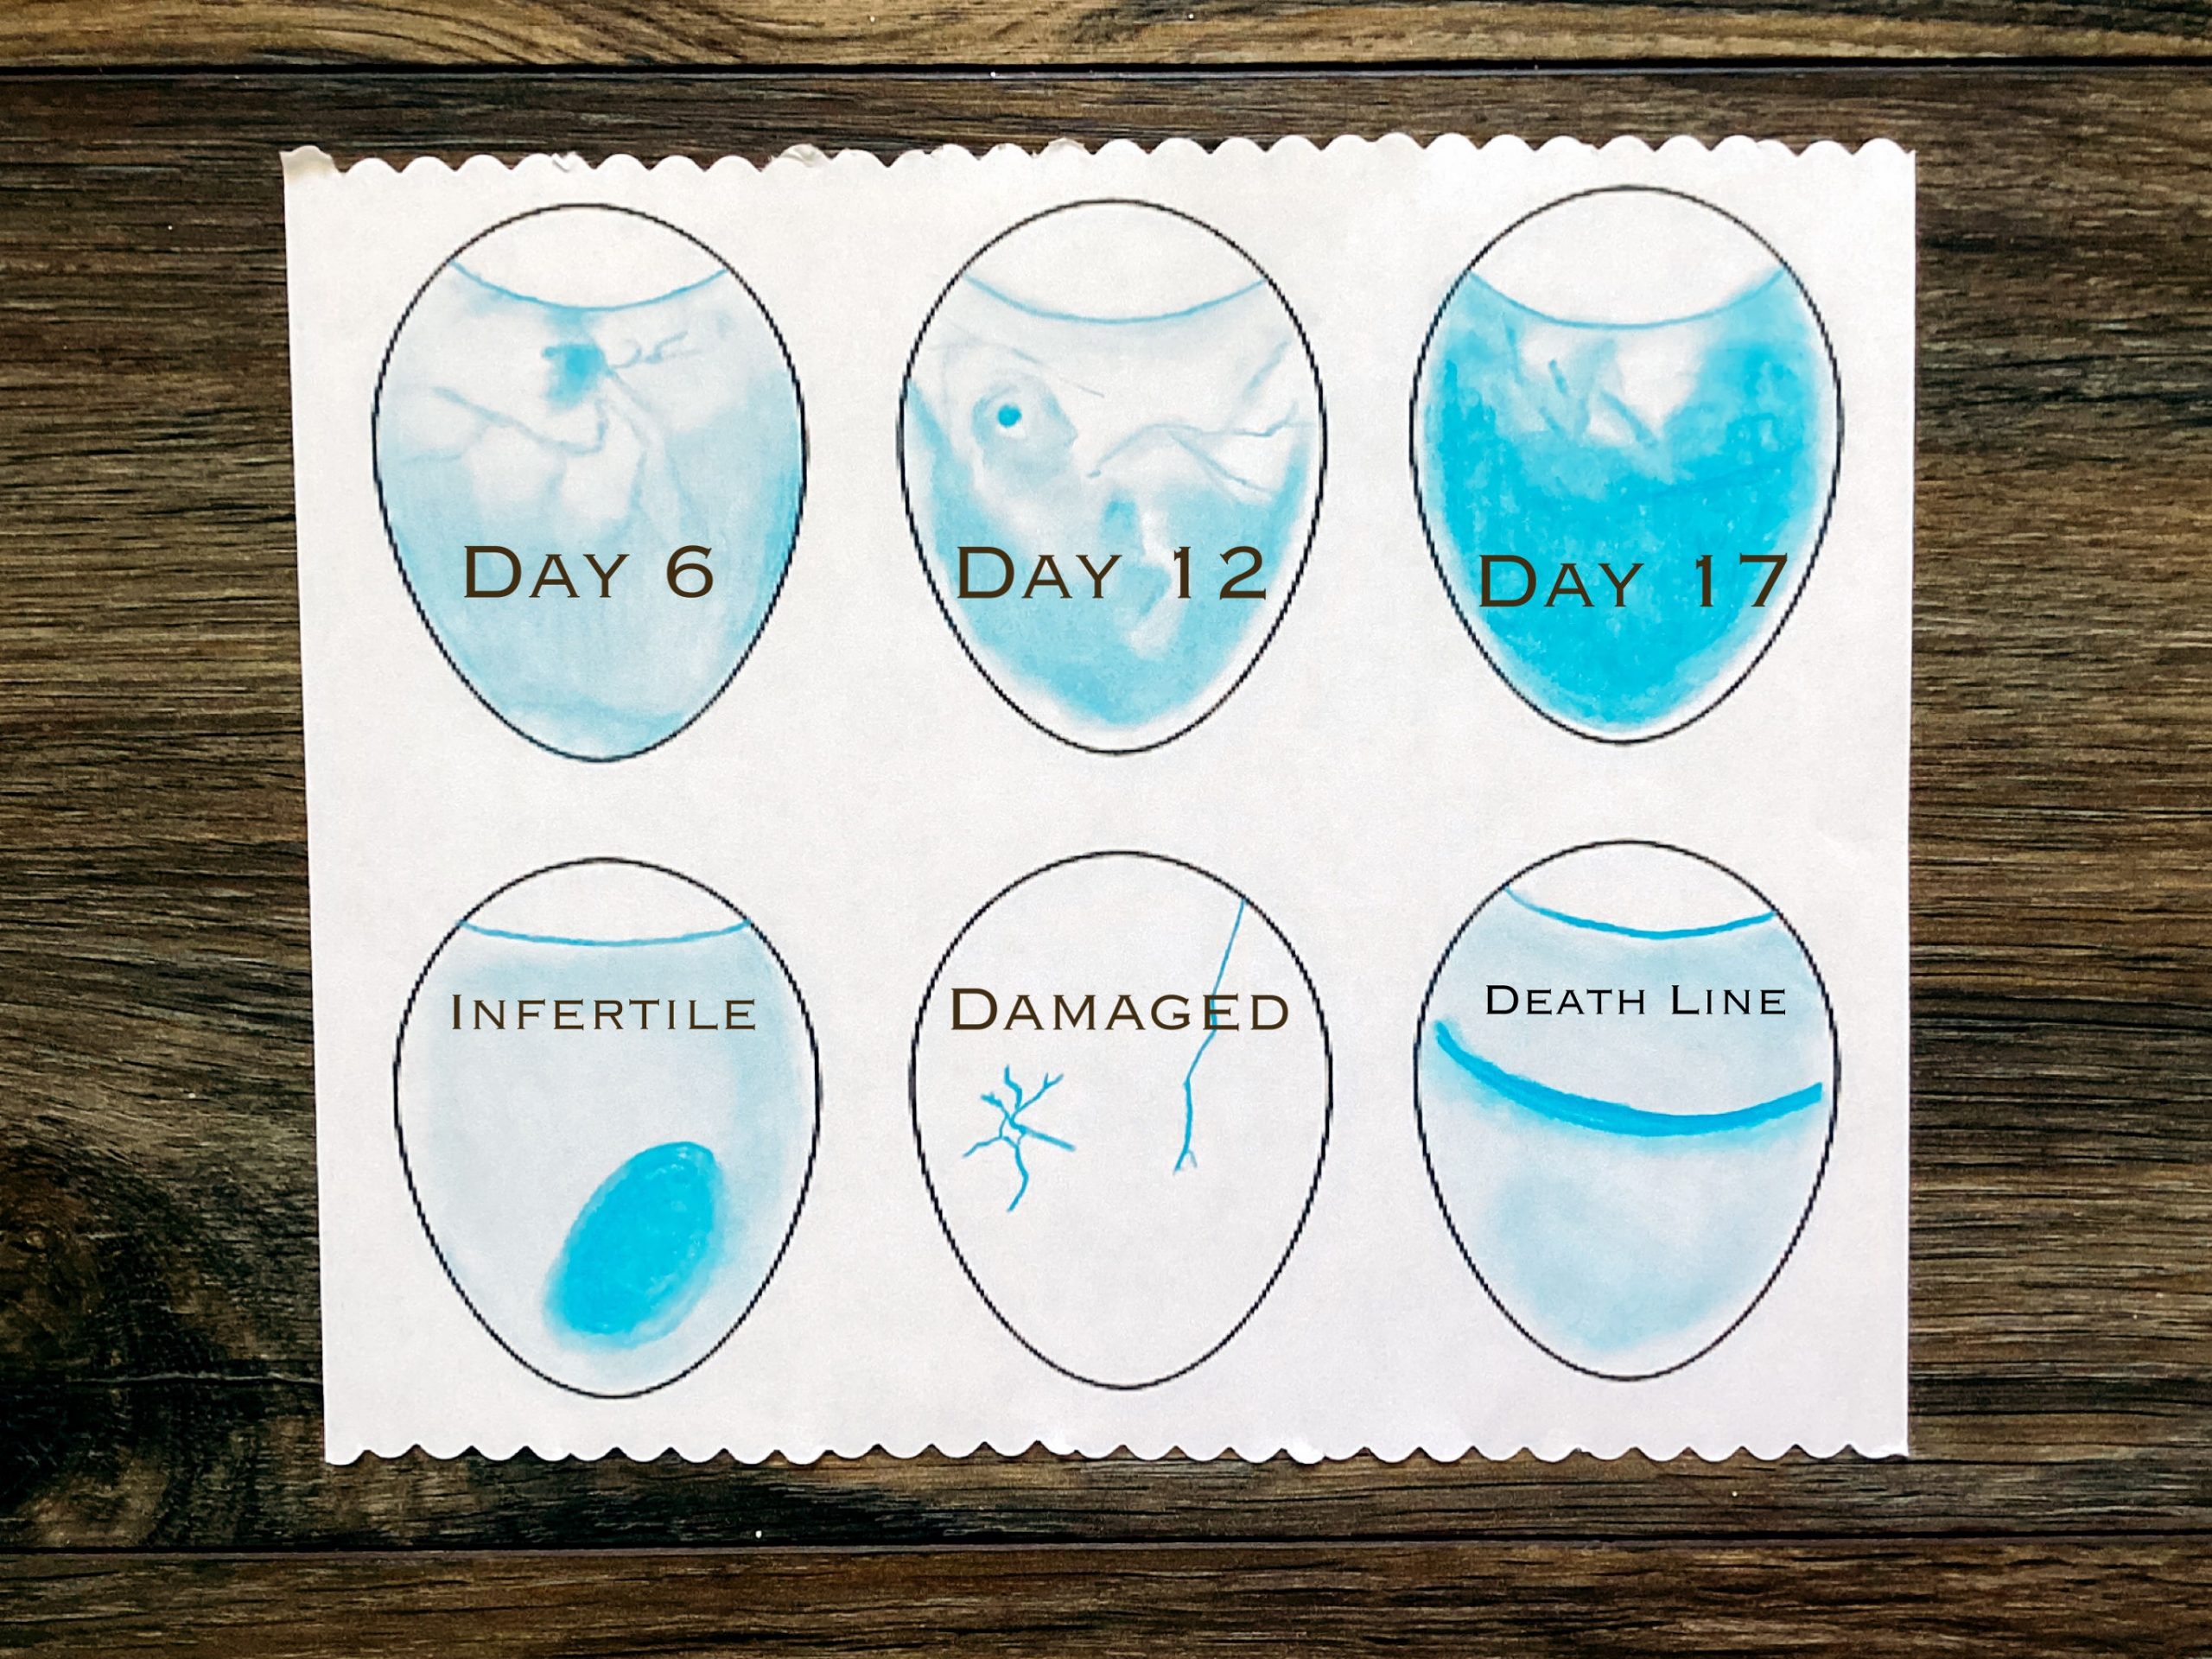
~Day 6
On this day, the eggs should have a tiny circular circle with a few visible veins. The embryo will appear to be floating above the dark mass of yolk. An infertile egg will resemble a raw egg, you will see nothing but an orange yolk floating around.
~Day 10 Visible Movement
~Day 12
By this time, you will definitely be able to tell if the egg is fertile or not. The embryo will be much larger and the network of veins will have sprouted. If you have an egg with a “death ring,” there will be a single, heavily dark line around the edge of the yolk sac. Unfortunately, some eggs will fail to grow, and that can often be from causes out of our control.
~Day 17
This will be your last opportunity to candle your eggs! The last three days of incubation, the incubator should not be opened at all. Your last look at the embryos will reveal large dark embryo settled inside the heavy part of the egg. It will be positioned with its head near the air sac, although this will be unlikely to be visible. If there are any eggs that seem to be way behind the other eggs, i most likely stoped growing and should be removed.
At the beginning of the last three days, increase your humidity to 65-70%, while still paying attention to the air vent. The temperature of the incubator stays the same the entire incubation, at 99.5 F. There should be no turning of the eggs, or opening of the incubator to help the chicks roll into hatching position and keep humidity high on the eggshells on these last days. Soon, your 21 day wait will be over, and you’ll get to see your chickens for the first time, but it won’t have been your first look! Happy candling!